
SSL is one of the most important things you should get for your website, and if you’re looking to grab your SSL certificate, then here I’m sharing a few GoDaddy SSL coupon codes for you.
As you know, GoDaddy is one of the most trusted websites for getting your domain name and hosting. But not only that, they provide various other services for both newbies and professionals. SSL is one of those things.
50%
Get 50% OFF on Godaddy’s Extended EV Certificates. Now, you can boost your website security and show visitors its safe with the green address bar. Get your SSL now!…
If you want to get a bigger discount on GoDaddy, you can save an extra 50% by changing the currency from USD to INR on their platform.
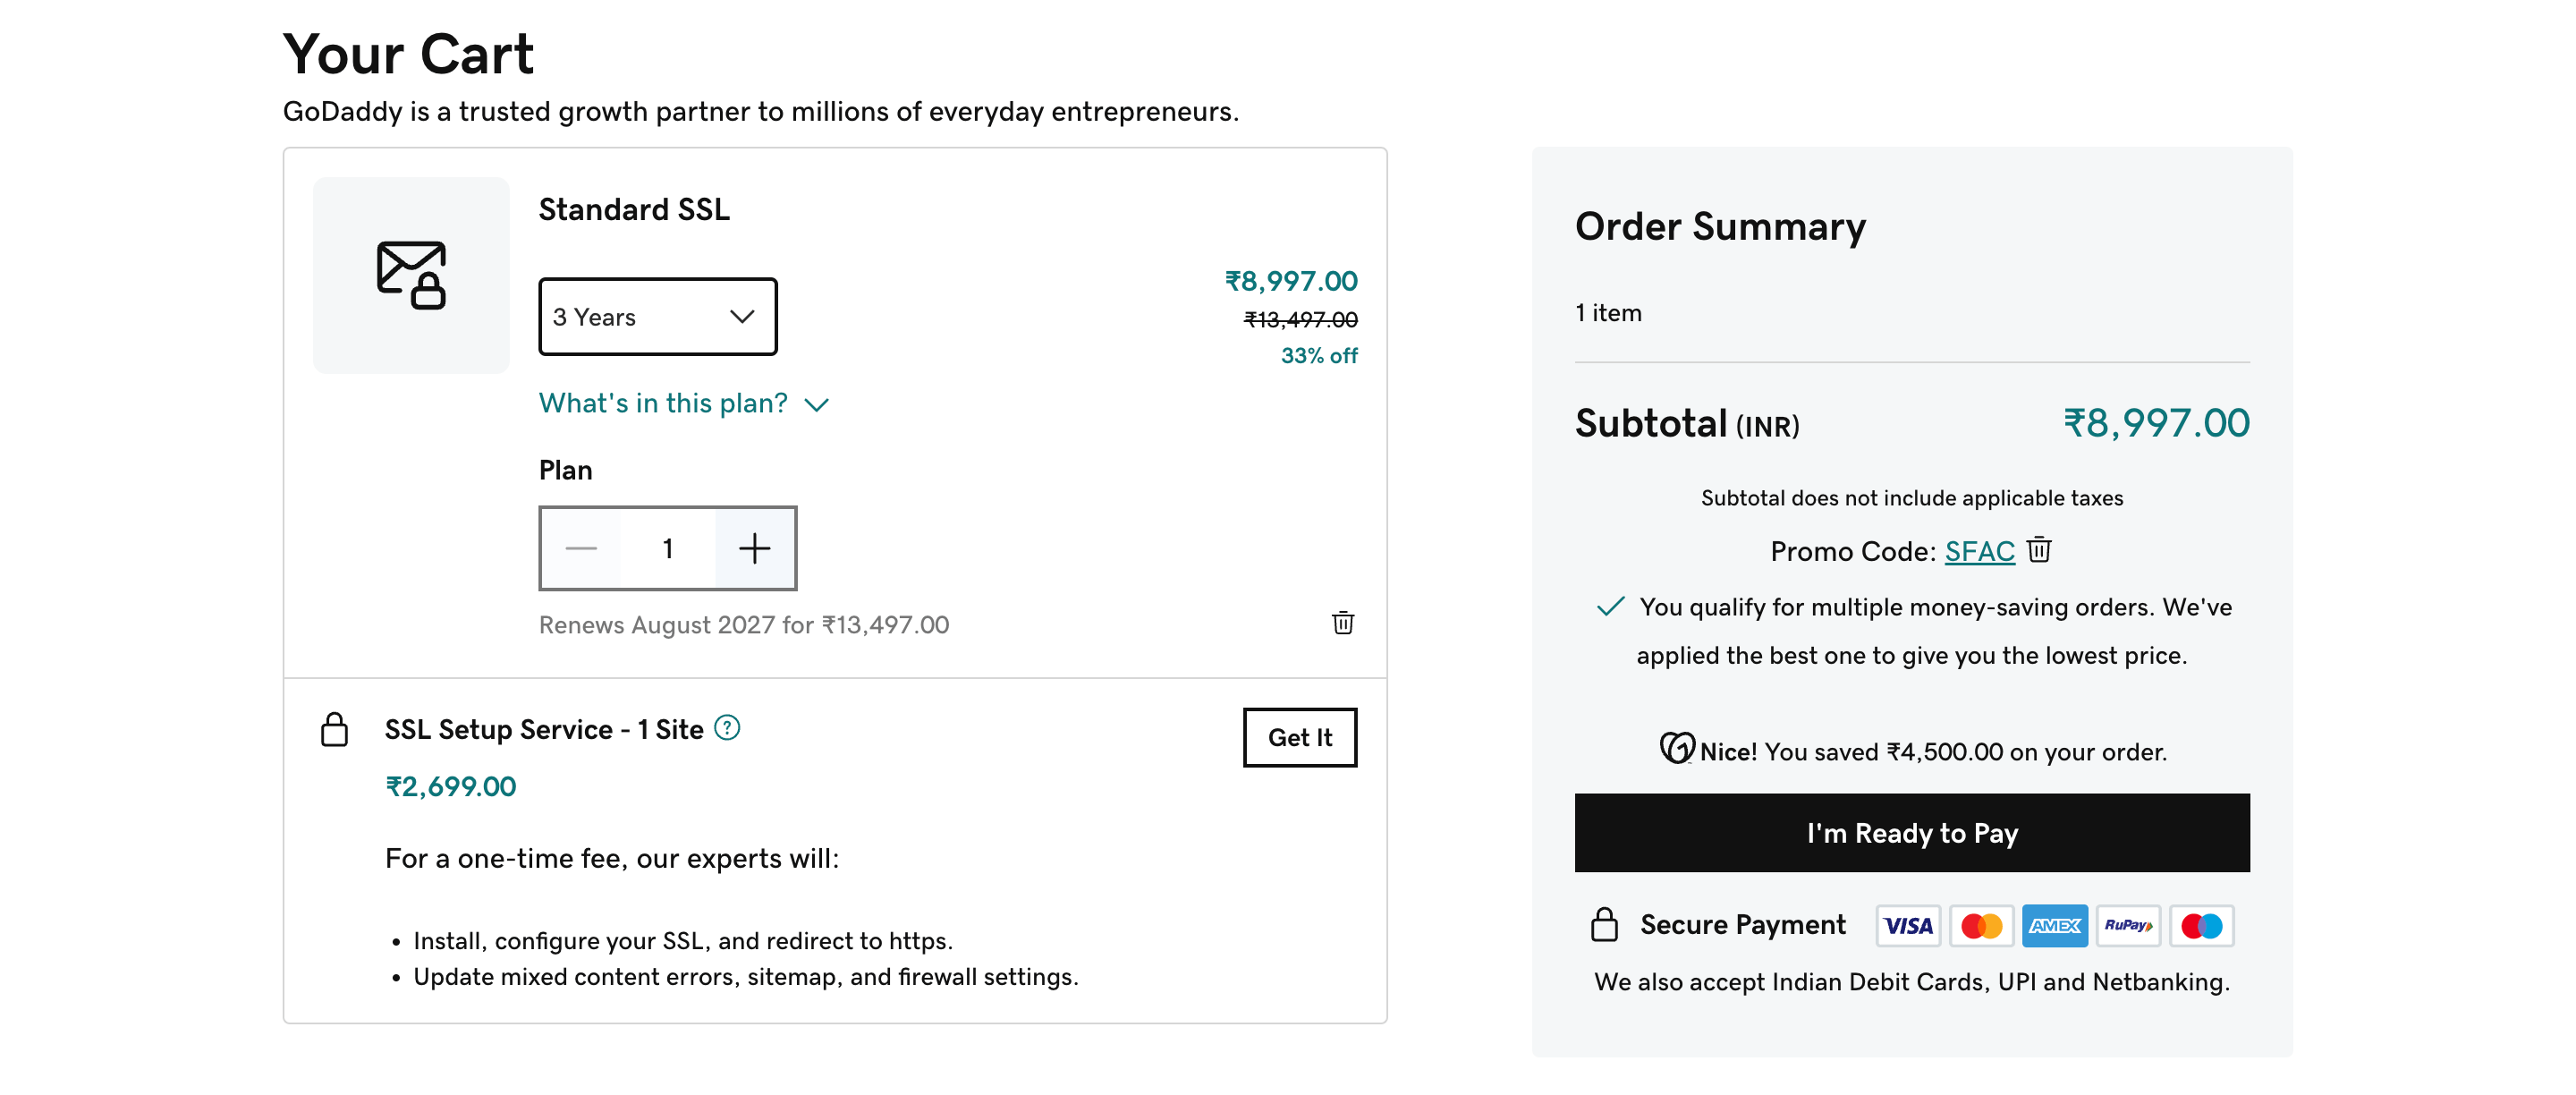
For example, when you’re buying an SSL certificate in USD, it costs about $209.97 (around Rs. 17,700) for 3 years of DV SSL. But if you switch the currency to INR, it will only cost Rs. 8,997 (around $107).
I’ve done this myself and it really works!
40%
Looking for a managed SSL certificate? Grab 40% discount on Godaddy’s managed DV SSL certificate with automated installation, managed service, and updates.…
30%
DV SSL Certificate is one of the most common types of SSL used by many people. Now, with our exclusive discount, you can get 30% OFF on your SSL certificate today!…
You can use the coupons shared above to grab your GoDaddy SSL certificates.
About GoDaddy
As stated on my GoDaddy promo code page, GoDaddy is an American publicly traded web hosting and domain registrar company (NYSE:GDDY). It’s a well-known company trusted by 21 million entrepreneurs, has 6k+ employees, and has registered 85 million domains on its platforms.
I, too, started my journey with GoDaddy, and if you’re thinking of starting your journey with them, too, then you’re making a solid choice.
Here are some pros and cons of hosting your website on GoDaddy.
- Reliable & excellent customer support.
- 85m+ domains has been registered on their platform.
- They offer all-in-one solution for businesses.
- The pricing is high compared to that of other competitors.
GoDaddy SSL Coupons & Promo Codes
30%
Use this exclusive GoDaddy SSL coupon to get 30% off DV SSL certificates and encrypt your website for a year. This is a basic SSL certificate valid only for one domain name.…
26%
This GoDaddy SSL coupon will help you save 26% off on Do-it-Yourself (DIY) Multi Domain SAN SSL Certificate and offers standard level of protection for up to 5 domain names.…
22%
Get 22% off on Wildcard DV SSL certificates using this exclusive GoDaddy SSL coupon. This SSL will provide you with a standard level of encryption for 1 domain name and up to 9 subdomains.…
40%
Same as DIY DV SSL Certificate – but offers managed services and installation. You can use our exclusive GoDaddy SSL coupon to save approximately 40% OFF on managed services.…
20%
Get 20% off this managed SAN SSL service and encrypt up to 5 domains. This coupon will help you save on managed SSL services from GoDaddy.…
20%
If you’re working mostly with subdomains, you can use this GoDaddy SSL coupon to save up to 20% OFF on managed Wildcard SSL. This SSL service will provide encryption for one domain name and up to 9 subdomains.…
| Coupon Code | Coupon Description | Coupon Link |
|---|---|---|
| CJCSSLR389 | GoDaddy SSL Coupon to Get SSL Certificate for Just $69.99 for the First Year | |
| CJC2OFF30 | Get an SSL certificate from GoDaddy at 30% off. | |
| CJCSSLR389 | Use this GoDaddy SSL coupon to get an SSL certificate with a flat 50% discount. | |
| CJC25SSL | Use this GoDaddy SSL coupon code to get an SSL certificate at a massive discount. |
Why Bloggers Should Use SSL Certificate
Using SSL certificates on your website has many perks. One of them includes a higher ranking in search engines like Google and Bing.
As you know, Google and Bing are the two most commonly used search engines, and for their users’ safety and security, they prefer to rank websites that use active SSL certificates. So, if you have a website with an SSL certificate, then the chances are you’ll rank slightly better than a website without SSL (you can also see Google’s announcement related to it here).
And not just limited to ranking factor, but it also adds an extra layer of security to your website and make your users/readers/customers trust your website more and more.
Benefits of Using GoDaddy SSL Certificate
There are numerous benefits of using an SSL certificate on your website, and we’ve already discussed a few of them above. In case you’re looking to check more benefits before making your purchase, then here I’m sharing a few.
1. More Search Visibility
As I said above, search engines like Google and Bing are prioritizing more on user safety. Thus, using an SSL on your website can give you an extra boost compared to websites with no SSL.
And I’m not suggesting these based on some research on Google, but a few years ago, I implemented SSL on my website and noticed the positive effect of using an SSL or HTTPS connection. Recently, Google also announced that using an SSL certificate will give an extra advantage to your website.
2. Protects Data Integrity
SSL plays an important role in protecting the data integrity between the user’s computer and your website. The encryption used in an SSL certificate ensures that sensitive information like usernames, passwords, credit card details, etc., remains confidential and secure without any interception or MITM by malicious users/hackers.
Being a CEH (Certified Ethical Hacker) myself, I have firsthand witnessed how this protection works. When you’re not using an SSL certificate on your website, every piece of information travels directly in plain text, which can be intercepted at any point. On the other hand, using SSL encrypts that data, and it can only be decrypted by the website. If anyone tries to manipulate it, they will be unable to make sense of the encrypted information.
3. Ensures PCI Compliance
If you’re in a business where you need to handle daily basis of online transactions, then having an SSL certificate is one of the mandatory things.
Like I said above, if your website doesn’t have SSL, important details like payment information, card details, etc., can easily be manipulated or grabbed by hackers. Therefore, it’s essential for businesses to have SSL.
4. Reduces Security Alerts
Imagine a situation where you’ve searched for something on Google or any of your favorite search engines. After your search, you visit one of the shared websites, and it shows a security alert that the website is using an unsafe connection.
Do you visit that website or use your credit card details on that website? No, right?
This is where SSL comes in handy. Many modern browsers show an SSL error when visiting a website without SSL, and people will most likely abandon your website. You can eliminate these types of issues by adding an SSL certificate to your website.
5. Increases Trust
In the above situation, people will most likely abandon your website if you haven’t installed an SSL certificate. However, if you have an active SSL certificate on your website, it will increase users’ trust, and people will be more likely to take actions such as making a purchase, signing up for a newsletter, or sharing their personal information.
And it’s really a simple way to build credibility with your users/readers/audience.
How to Buy an SSL Certificate from GoDaddy
Not sure how to buy an SSL certificate from GoDaddy? No worries, in this guide, I’ll show you how you can buy and save on an SSL certificate using our exclusive GoDaddy SSL coupon code.
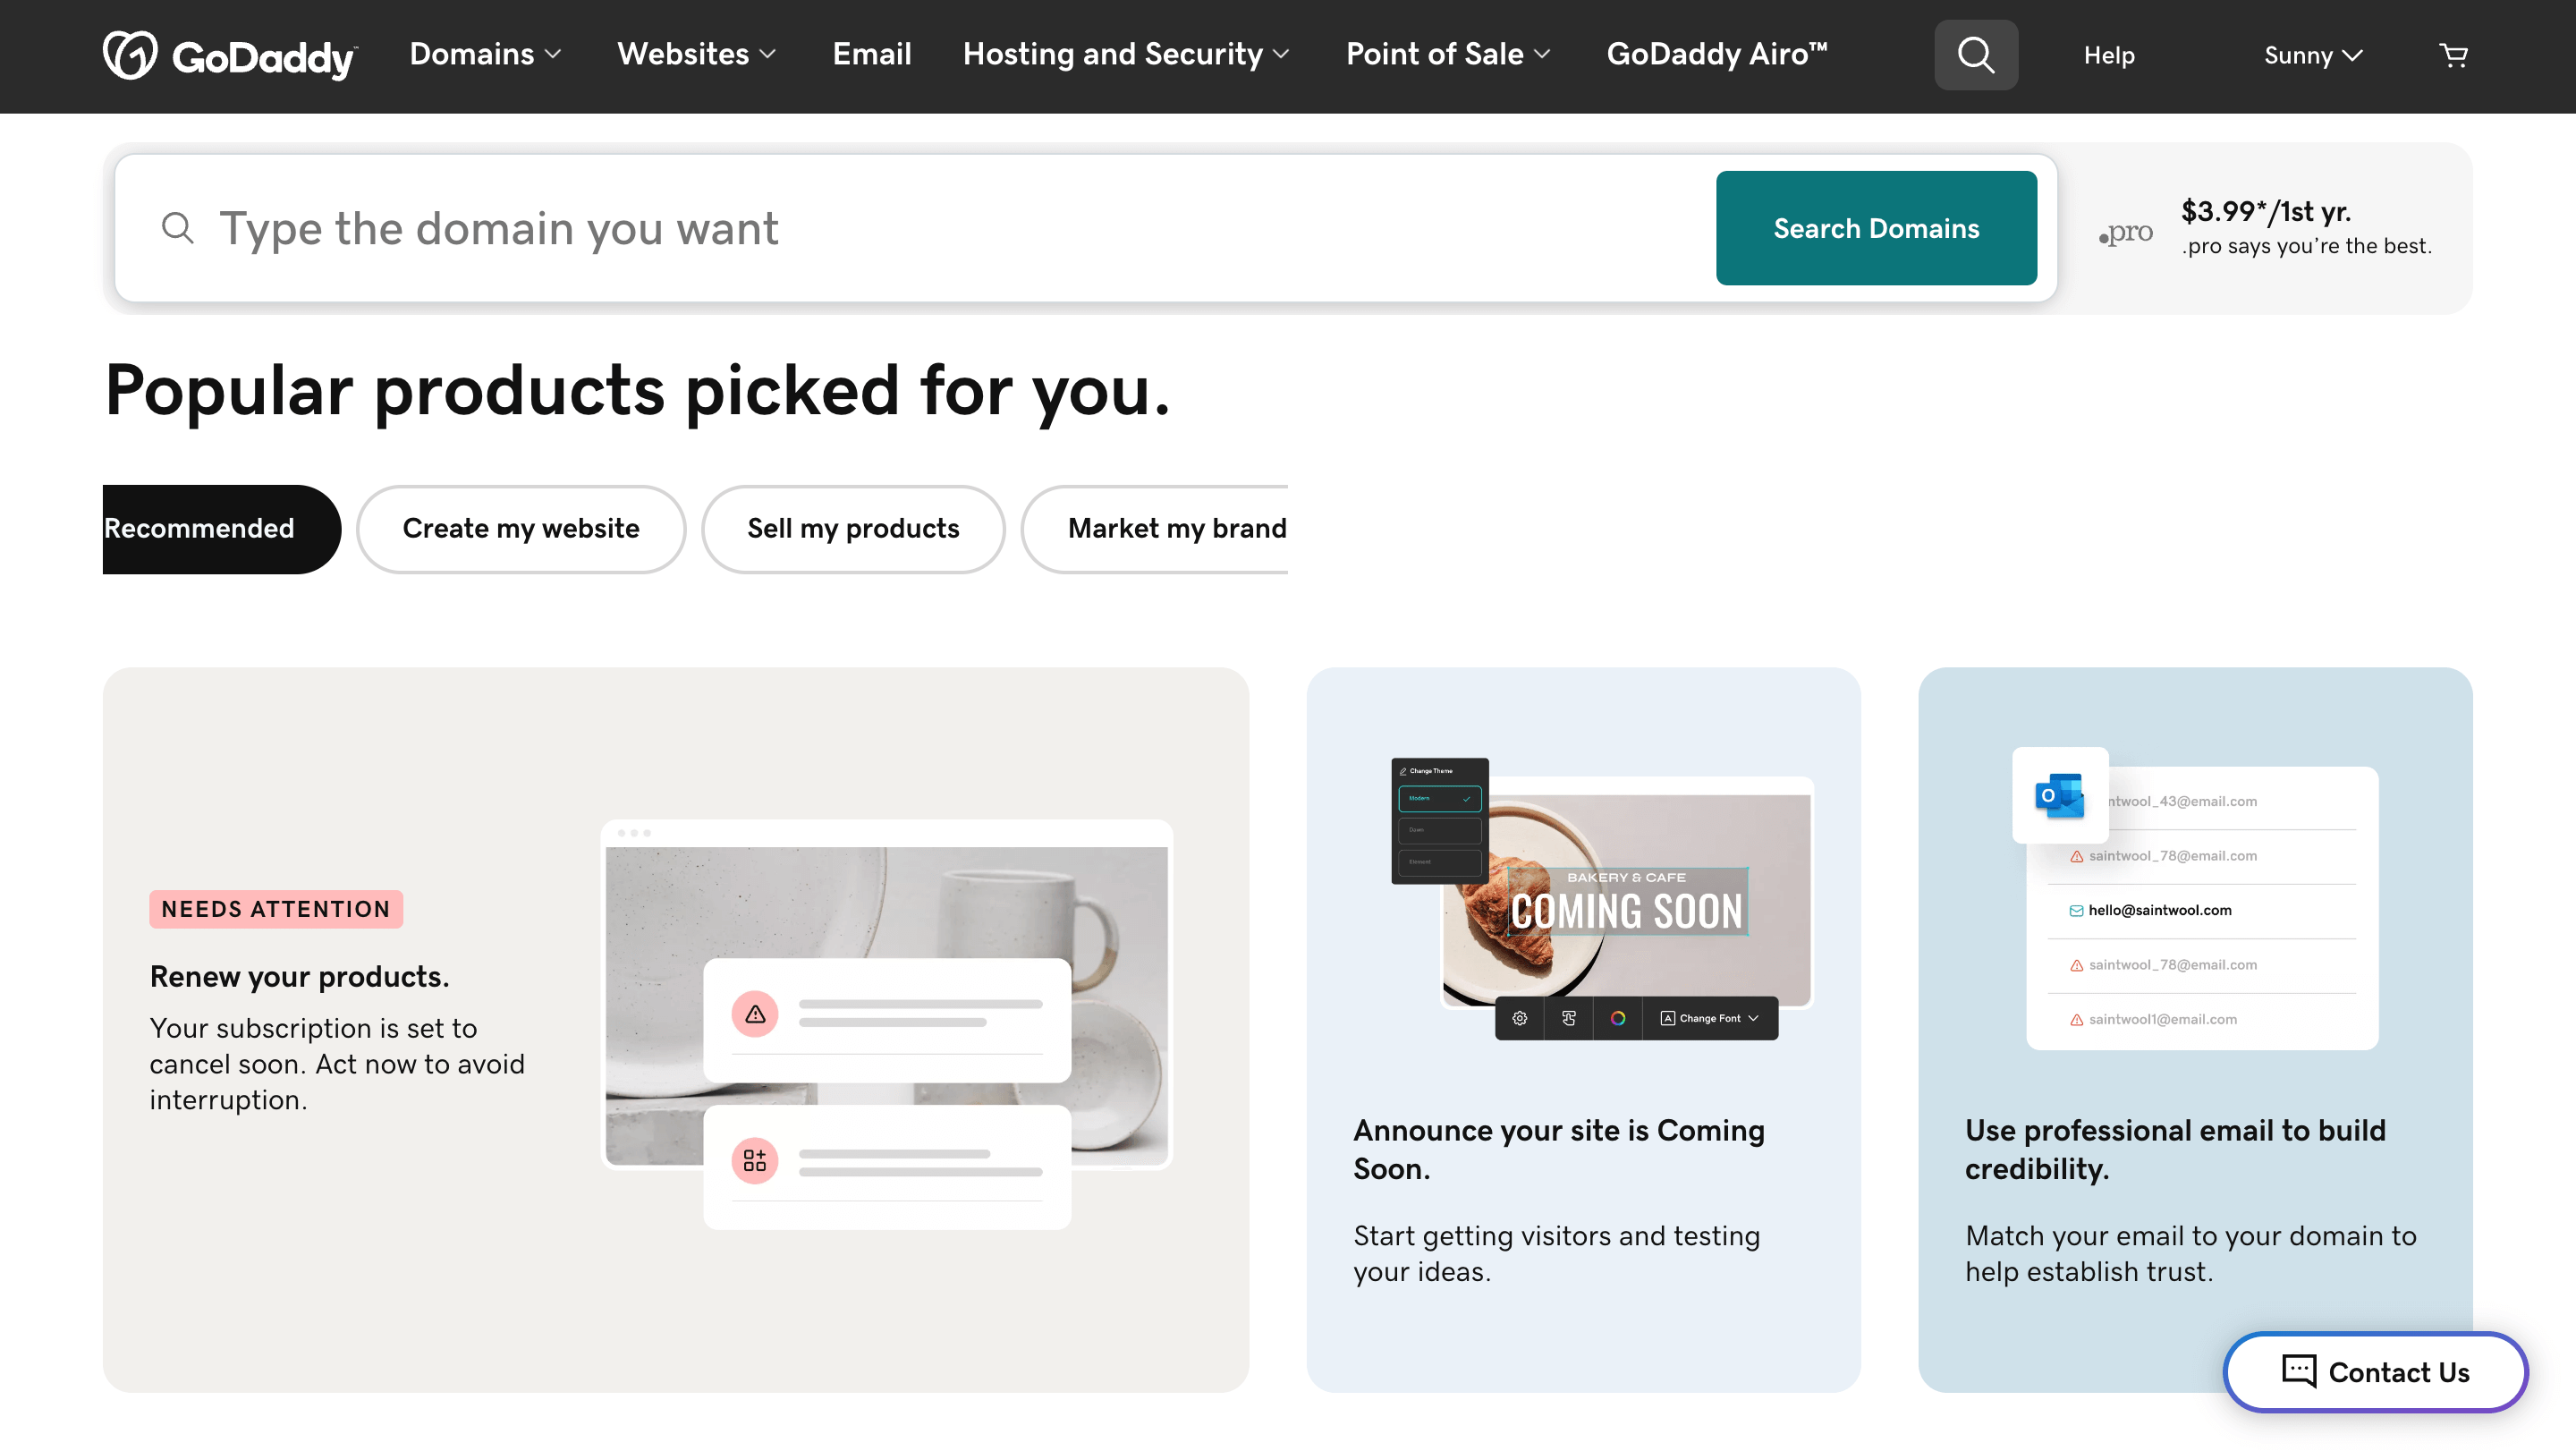
To buy an SSL certificate from GoDaddy, you first need to click on this link.
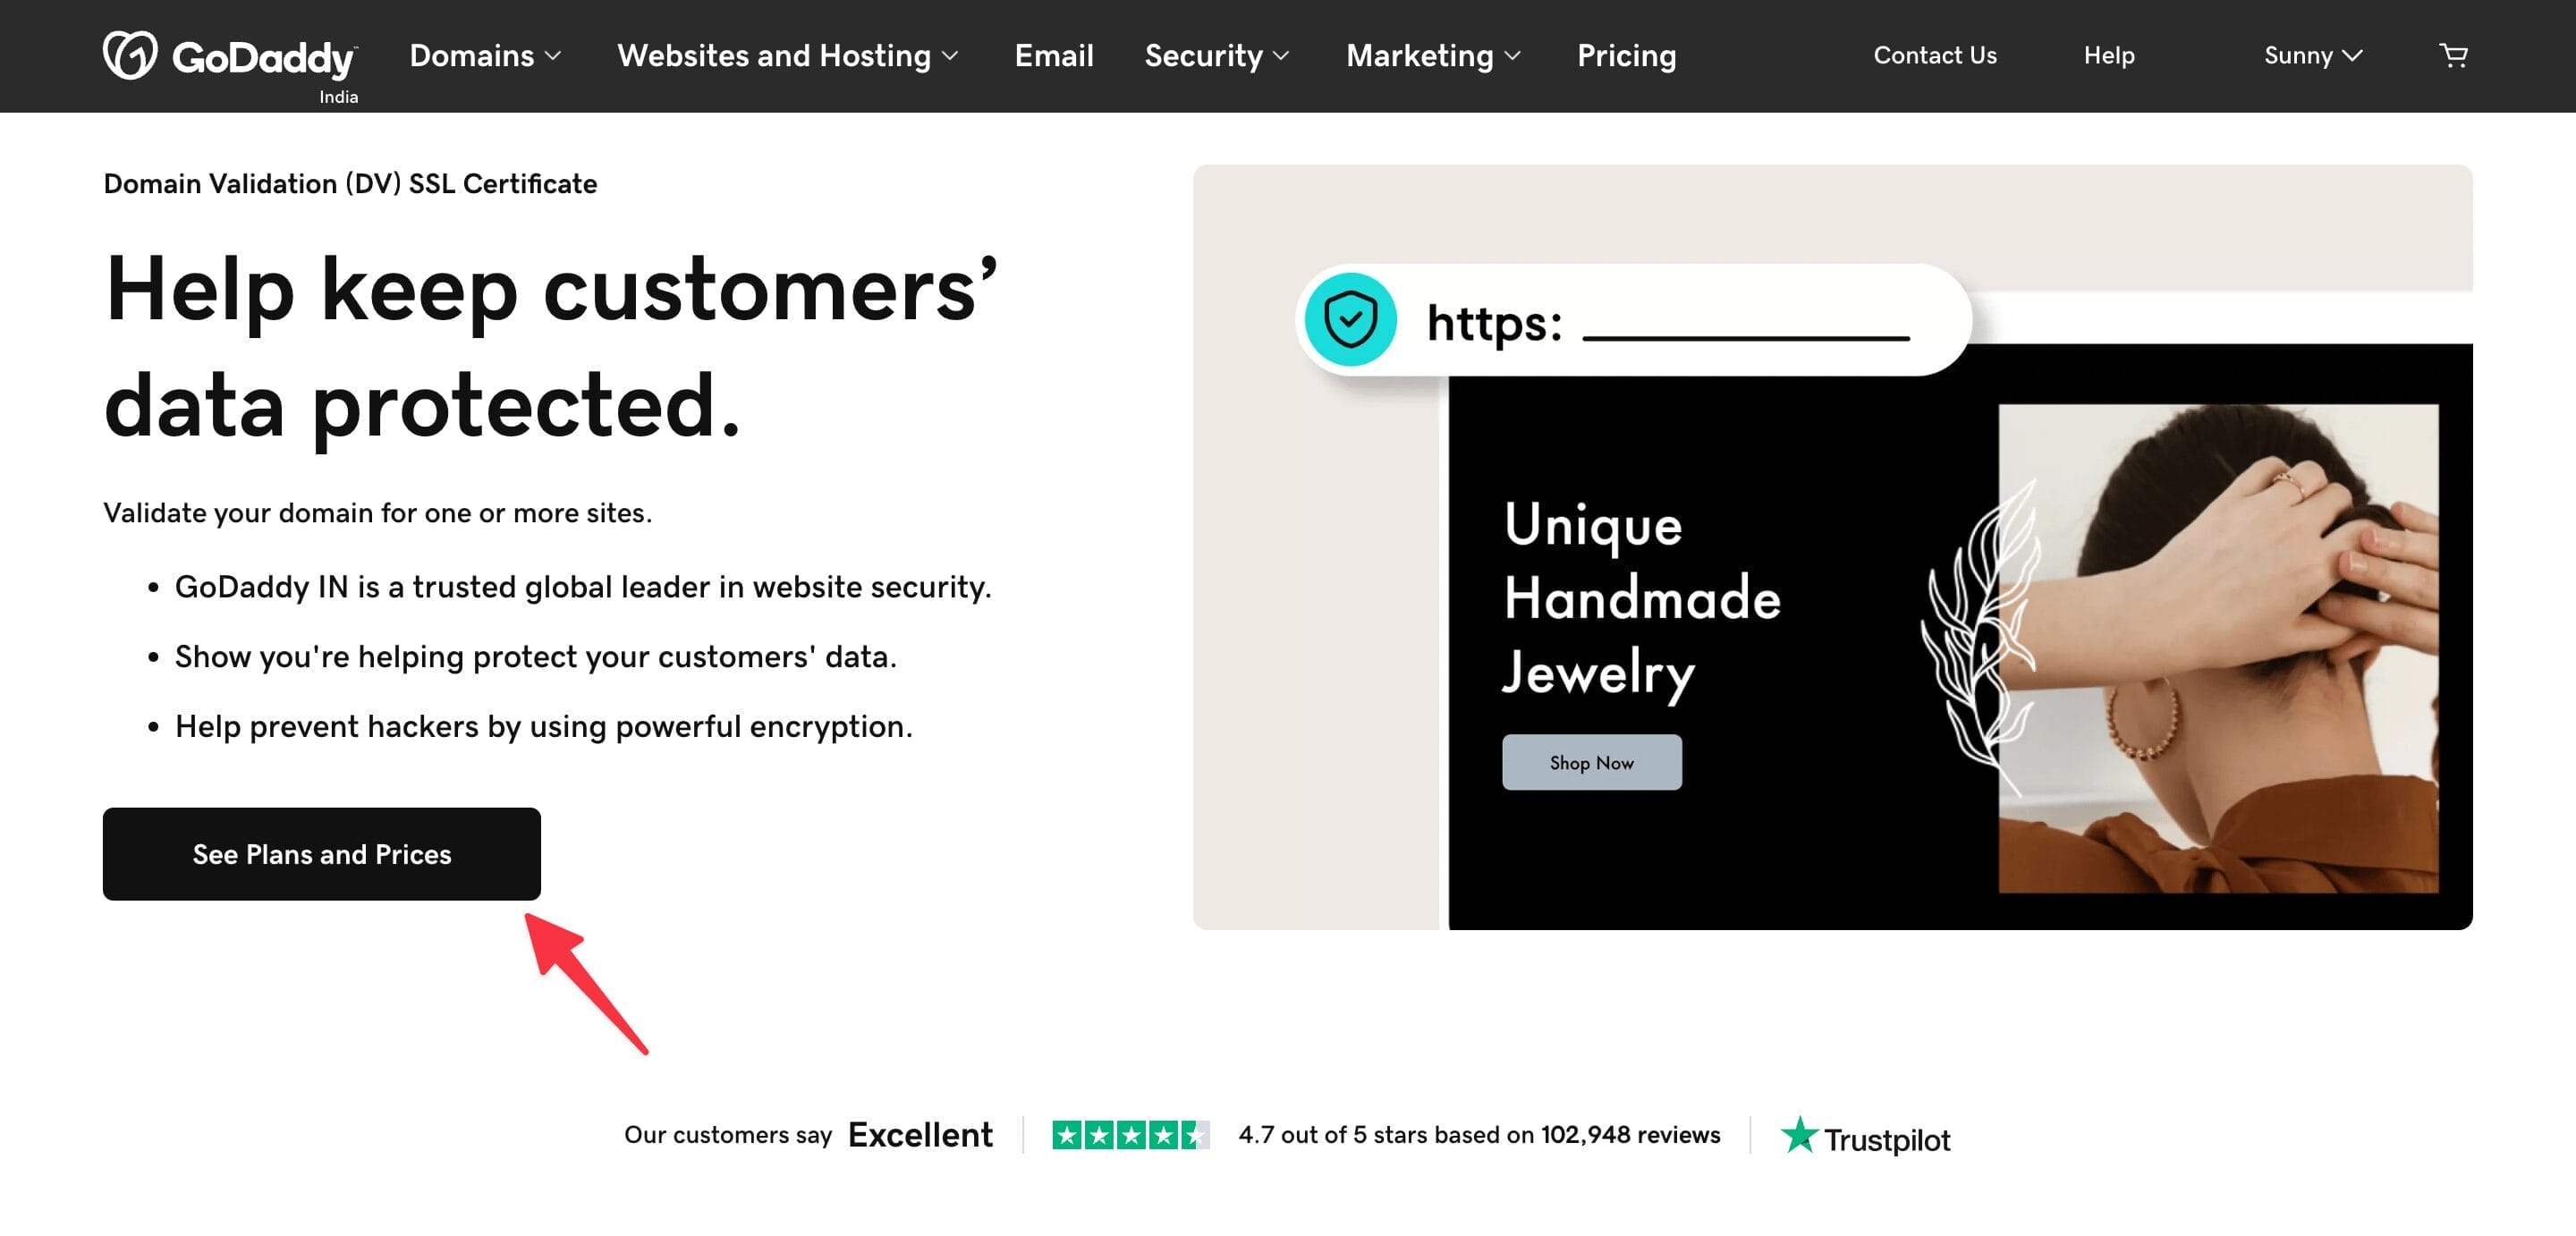
Once you are on this page, you need to click on the “See Plans and Prices” button, as shown in the above image.
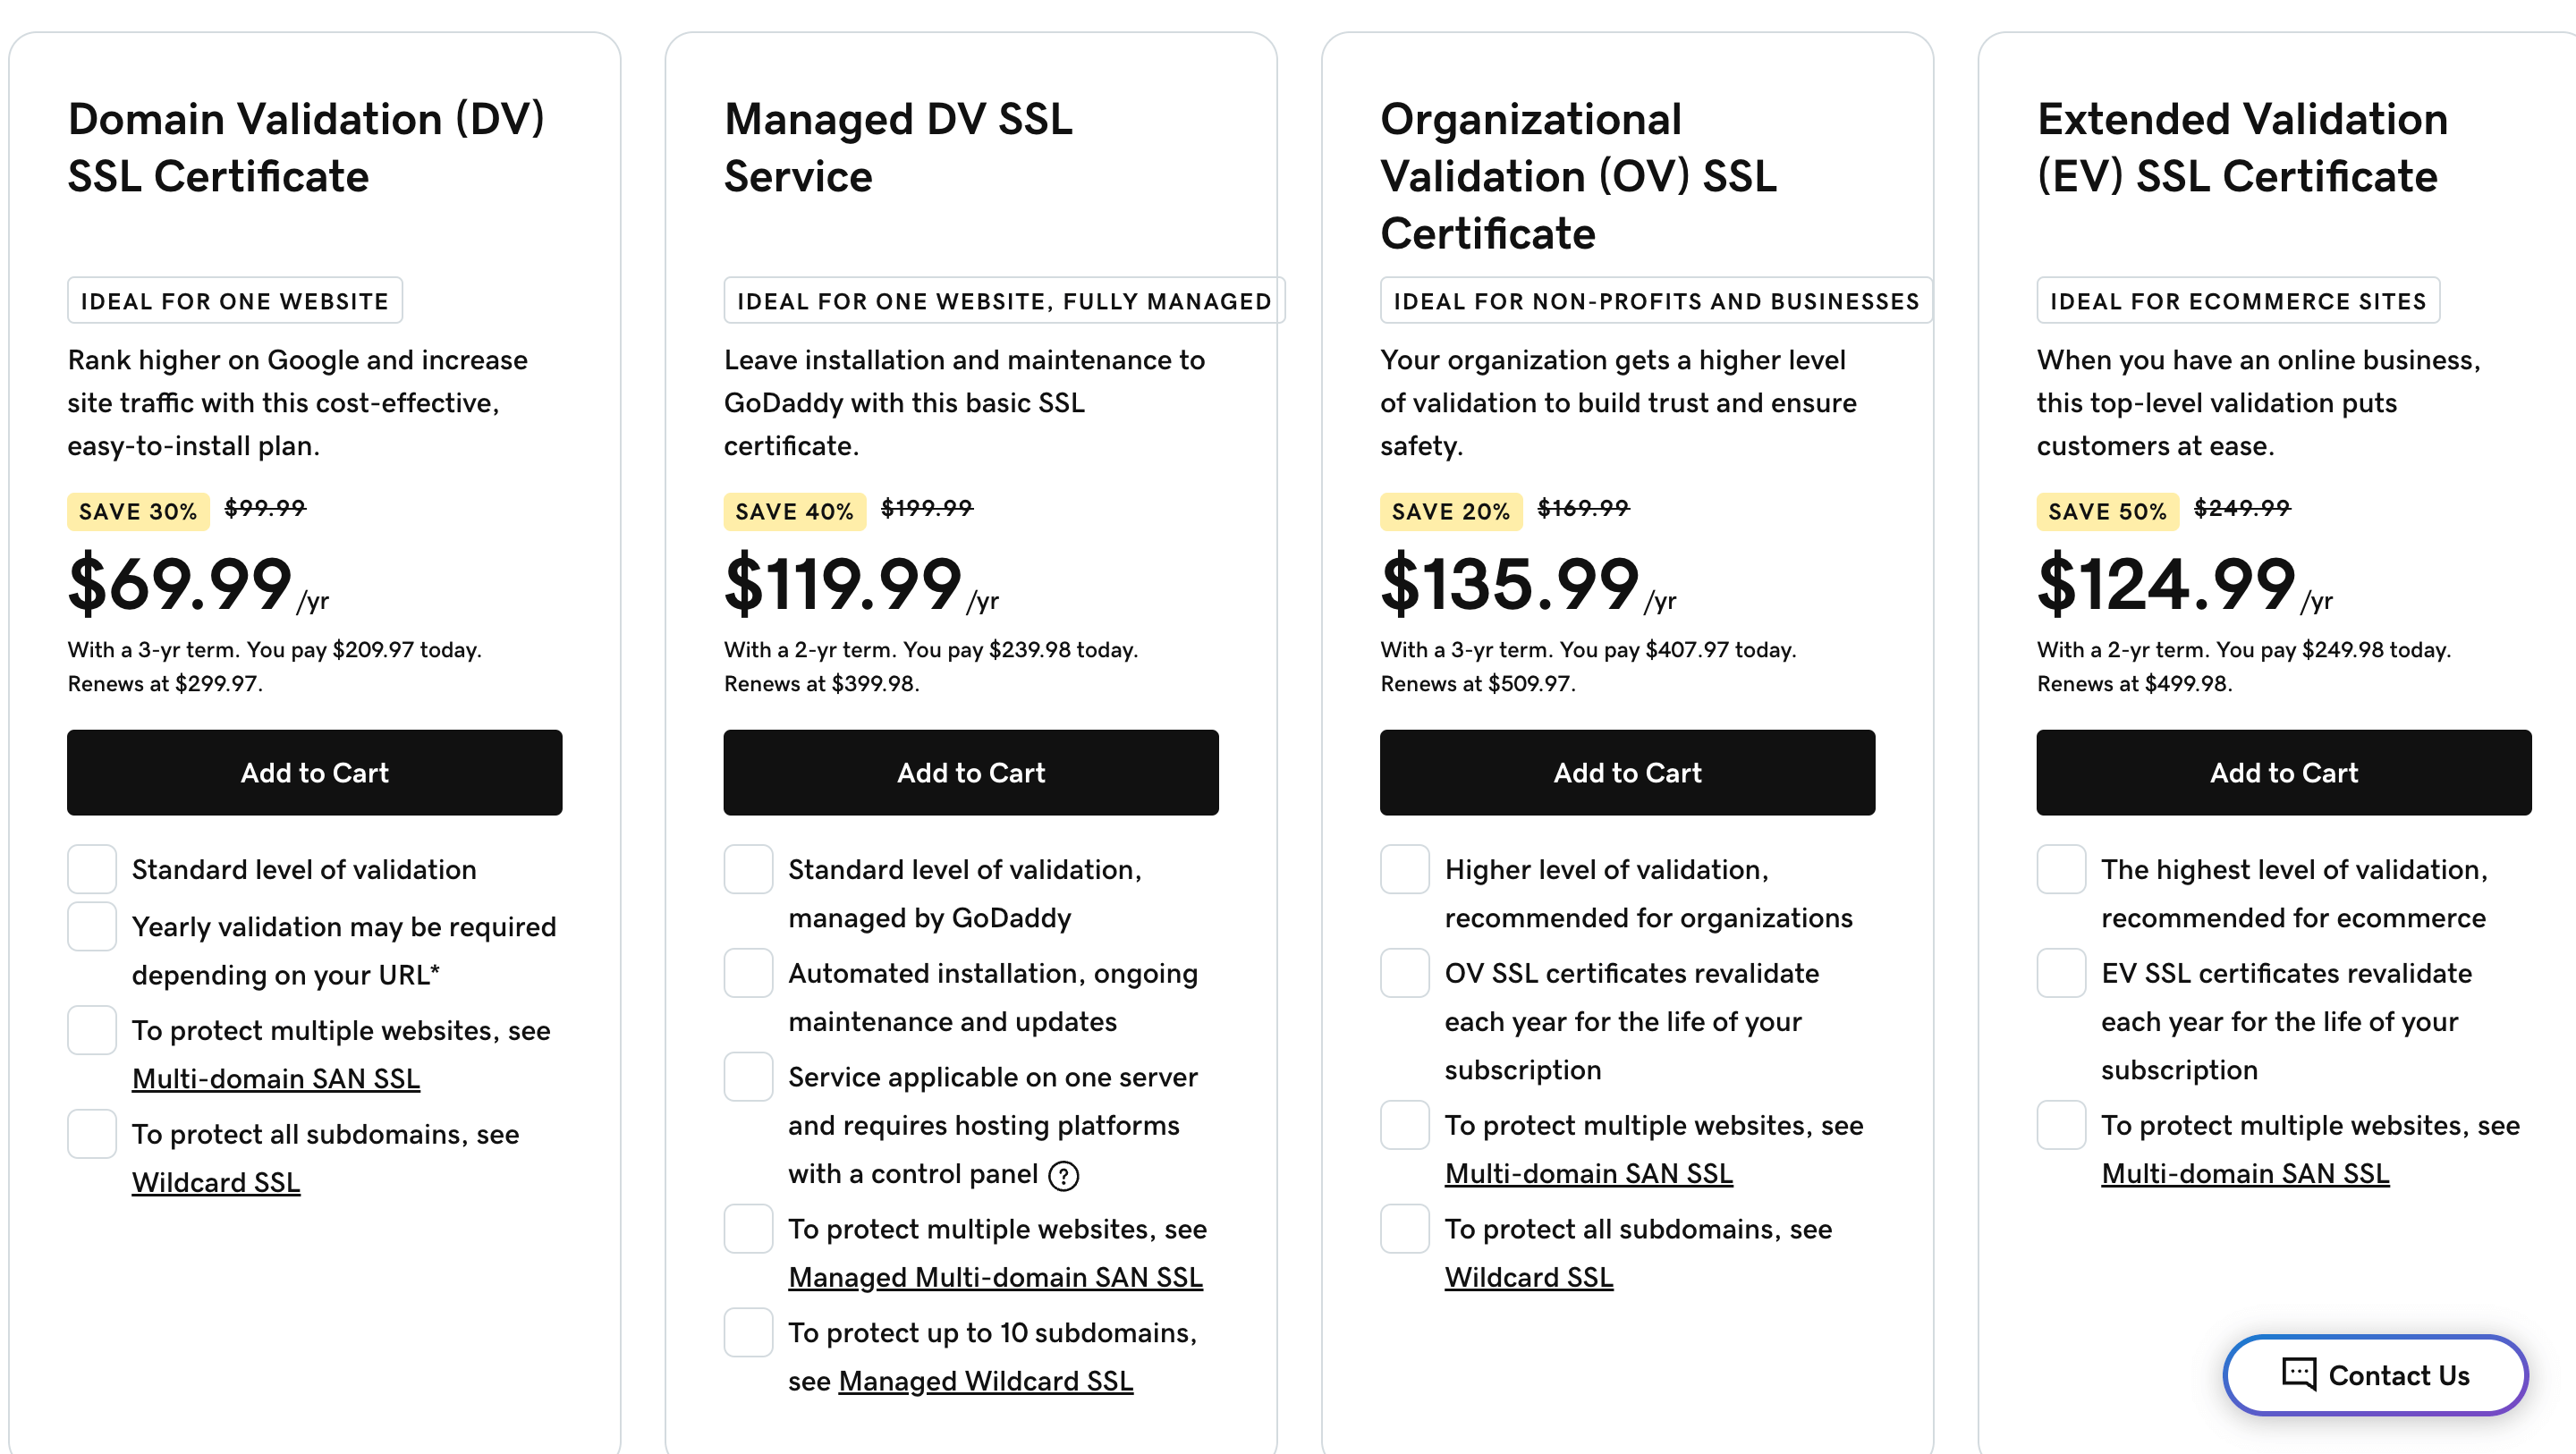
On this page, you’ll see various pricing options for SSL.
Please note these are not all the SSL plans offered by GoDaddy, but they are the ones on which you’ll find the best discounts.
Select the plan that suits your needs.
If you ask me, I recommend getting started with the “Domain Validation (DV)” certificate for a blog or basic website. But if your website deals in eCommerce and other types of services, I recommend doing in-depth research and selecting the one that suits all your needs.
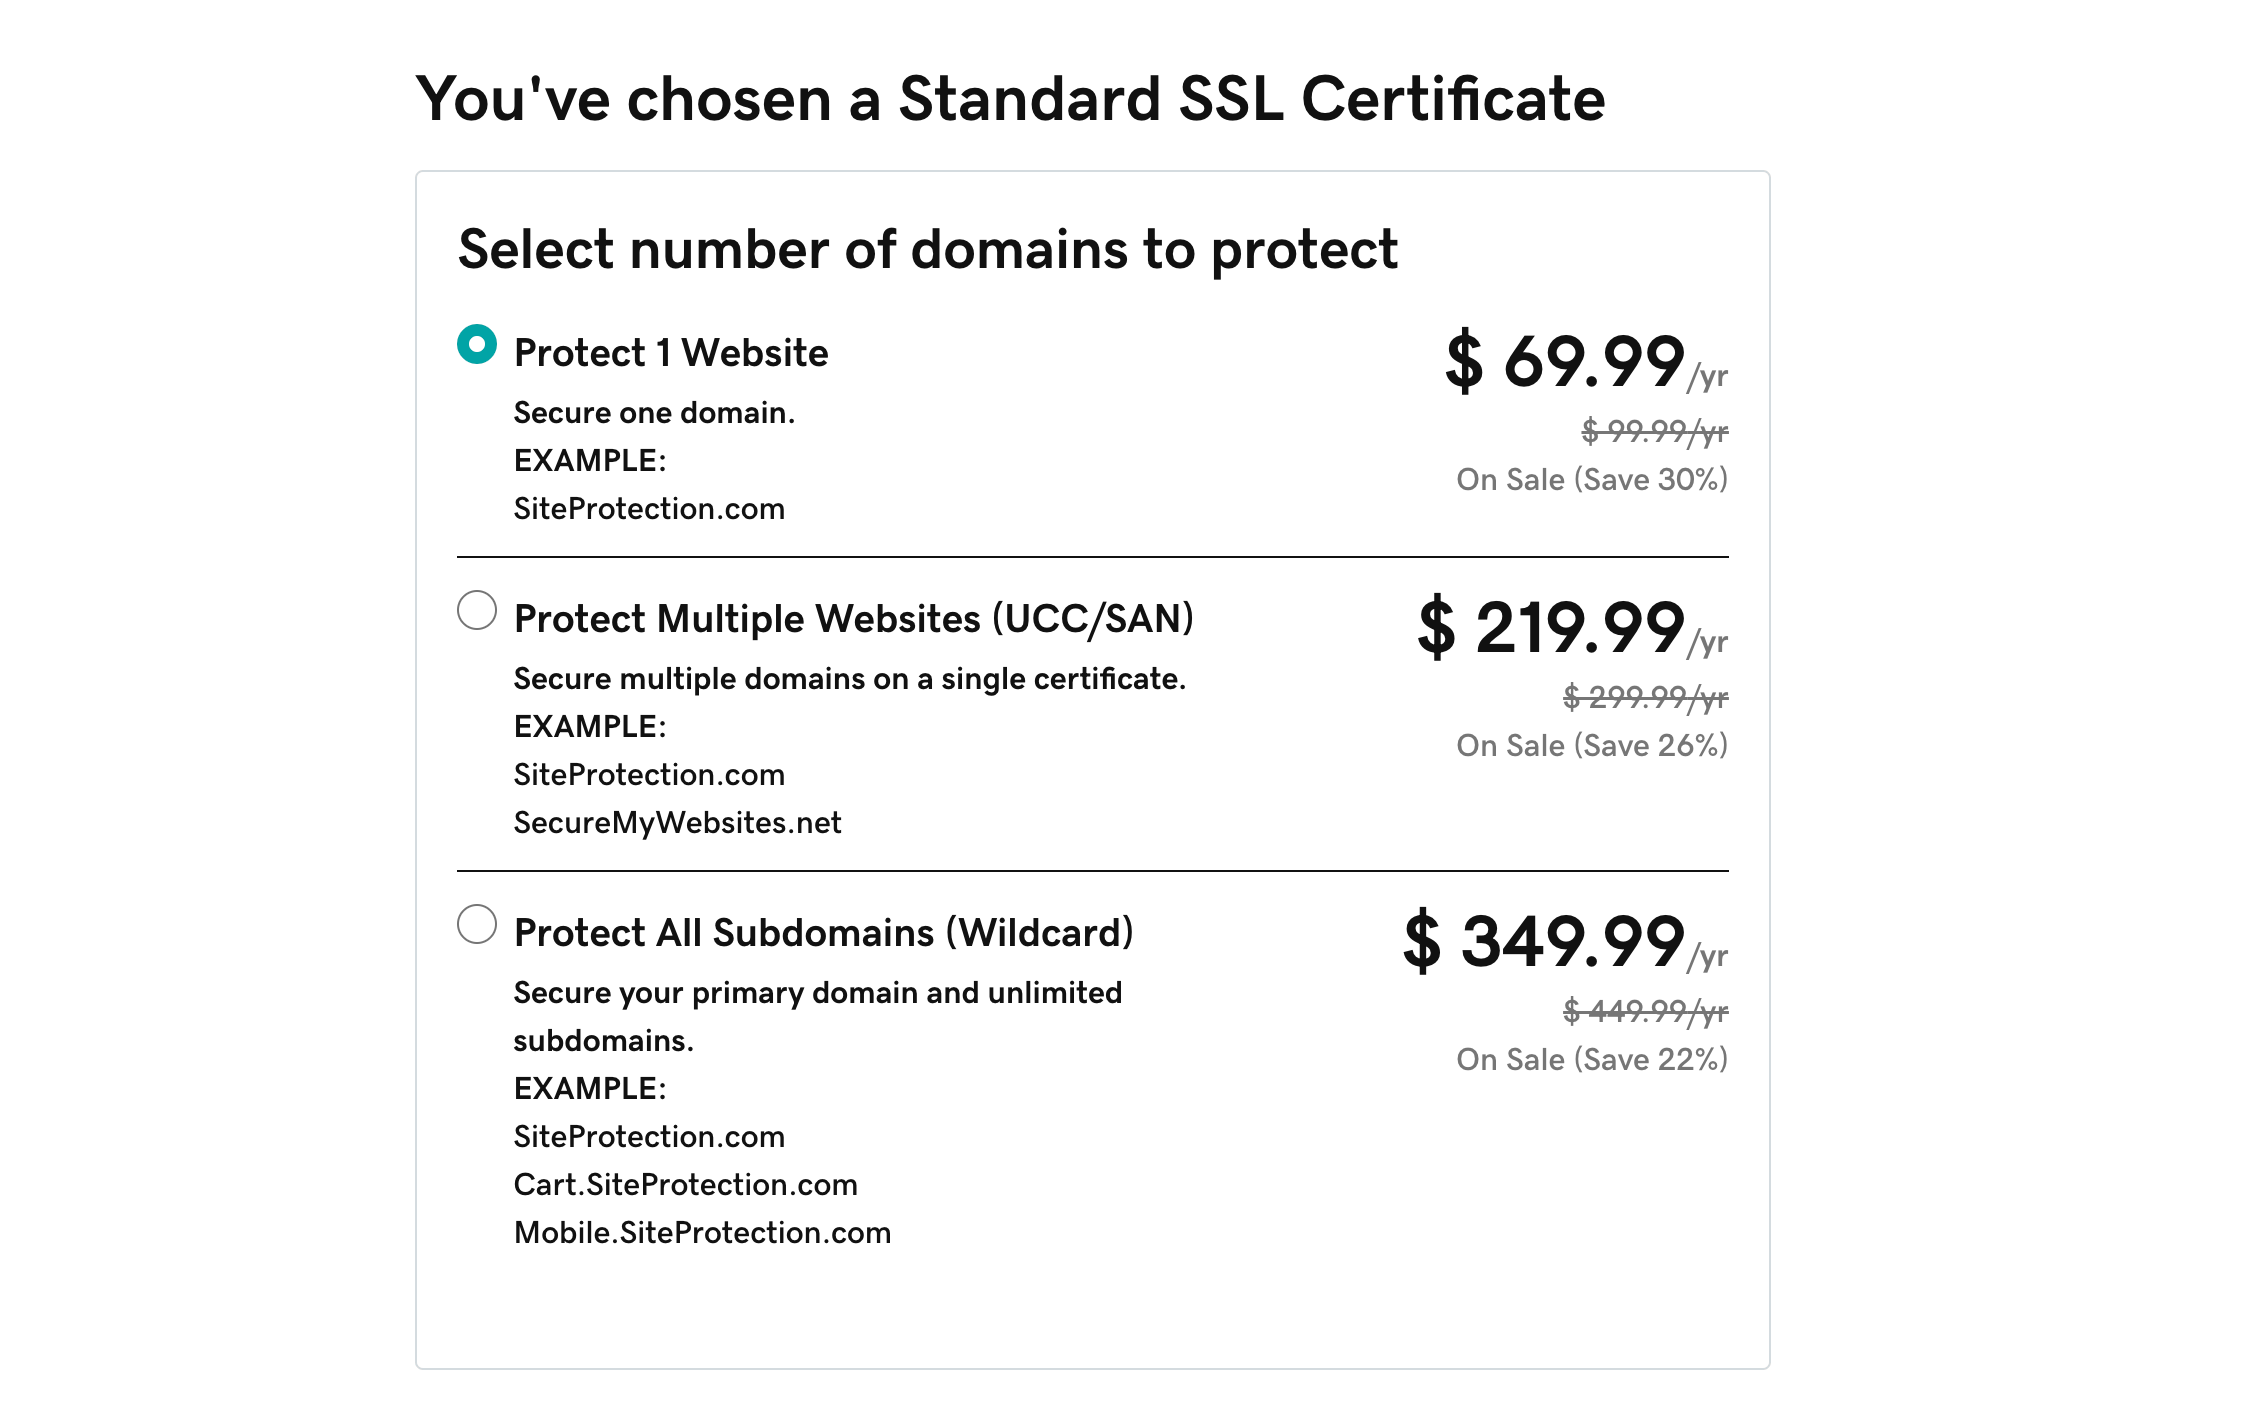
Once you have selected the SSL type, the next step is to select the number of websites you’d like to protect. Here, you’ll get an option to protect one website, multiple websites, or even all subdomains of your website.
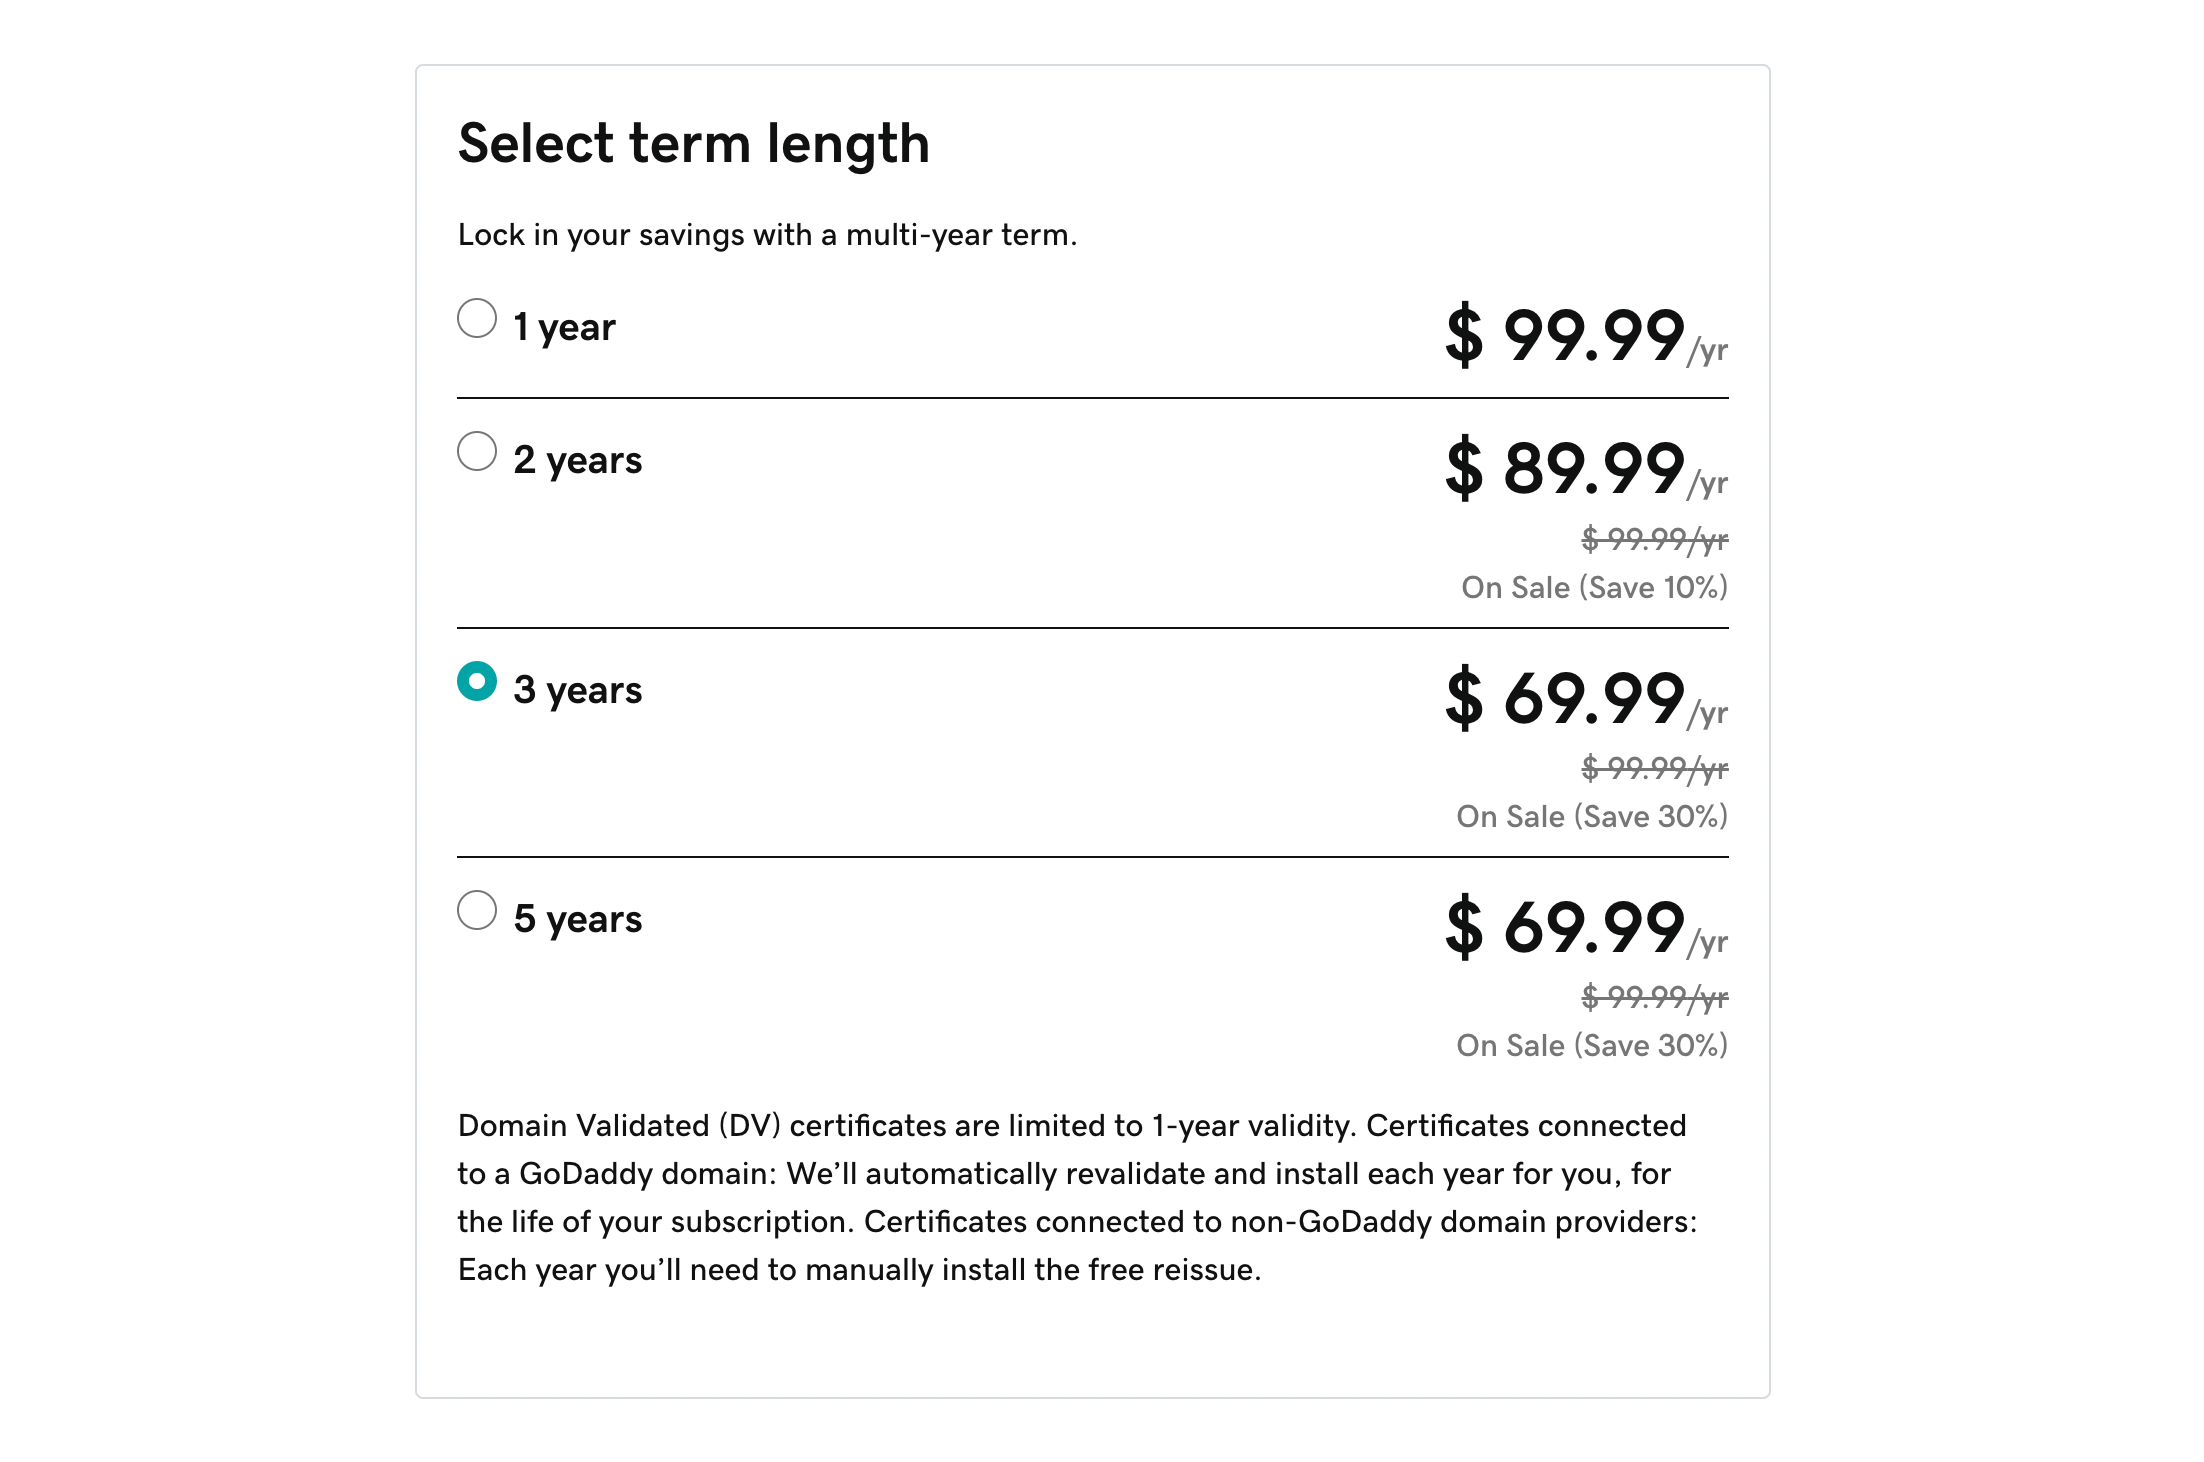
Next, you need to select the term length for your purchase.
Depending upon your needs, you can either select 1 year, 2 years, 3 years, or 5 years of duration. I would recommend getting your SSL certificate for 3 years, as you’re getting the best discount on your purchase.
But the choice depends upon your needs!
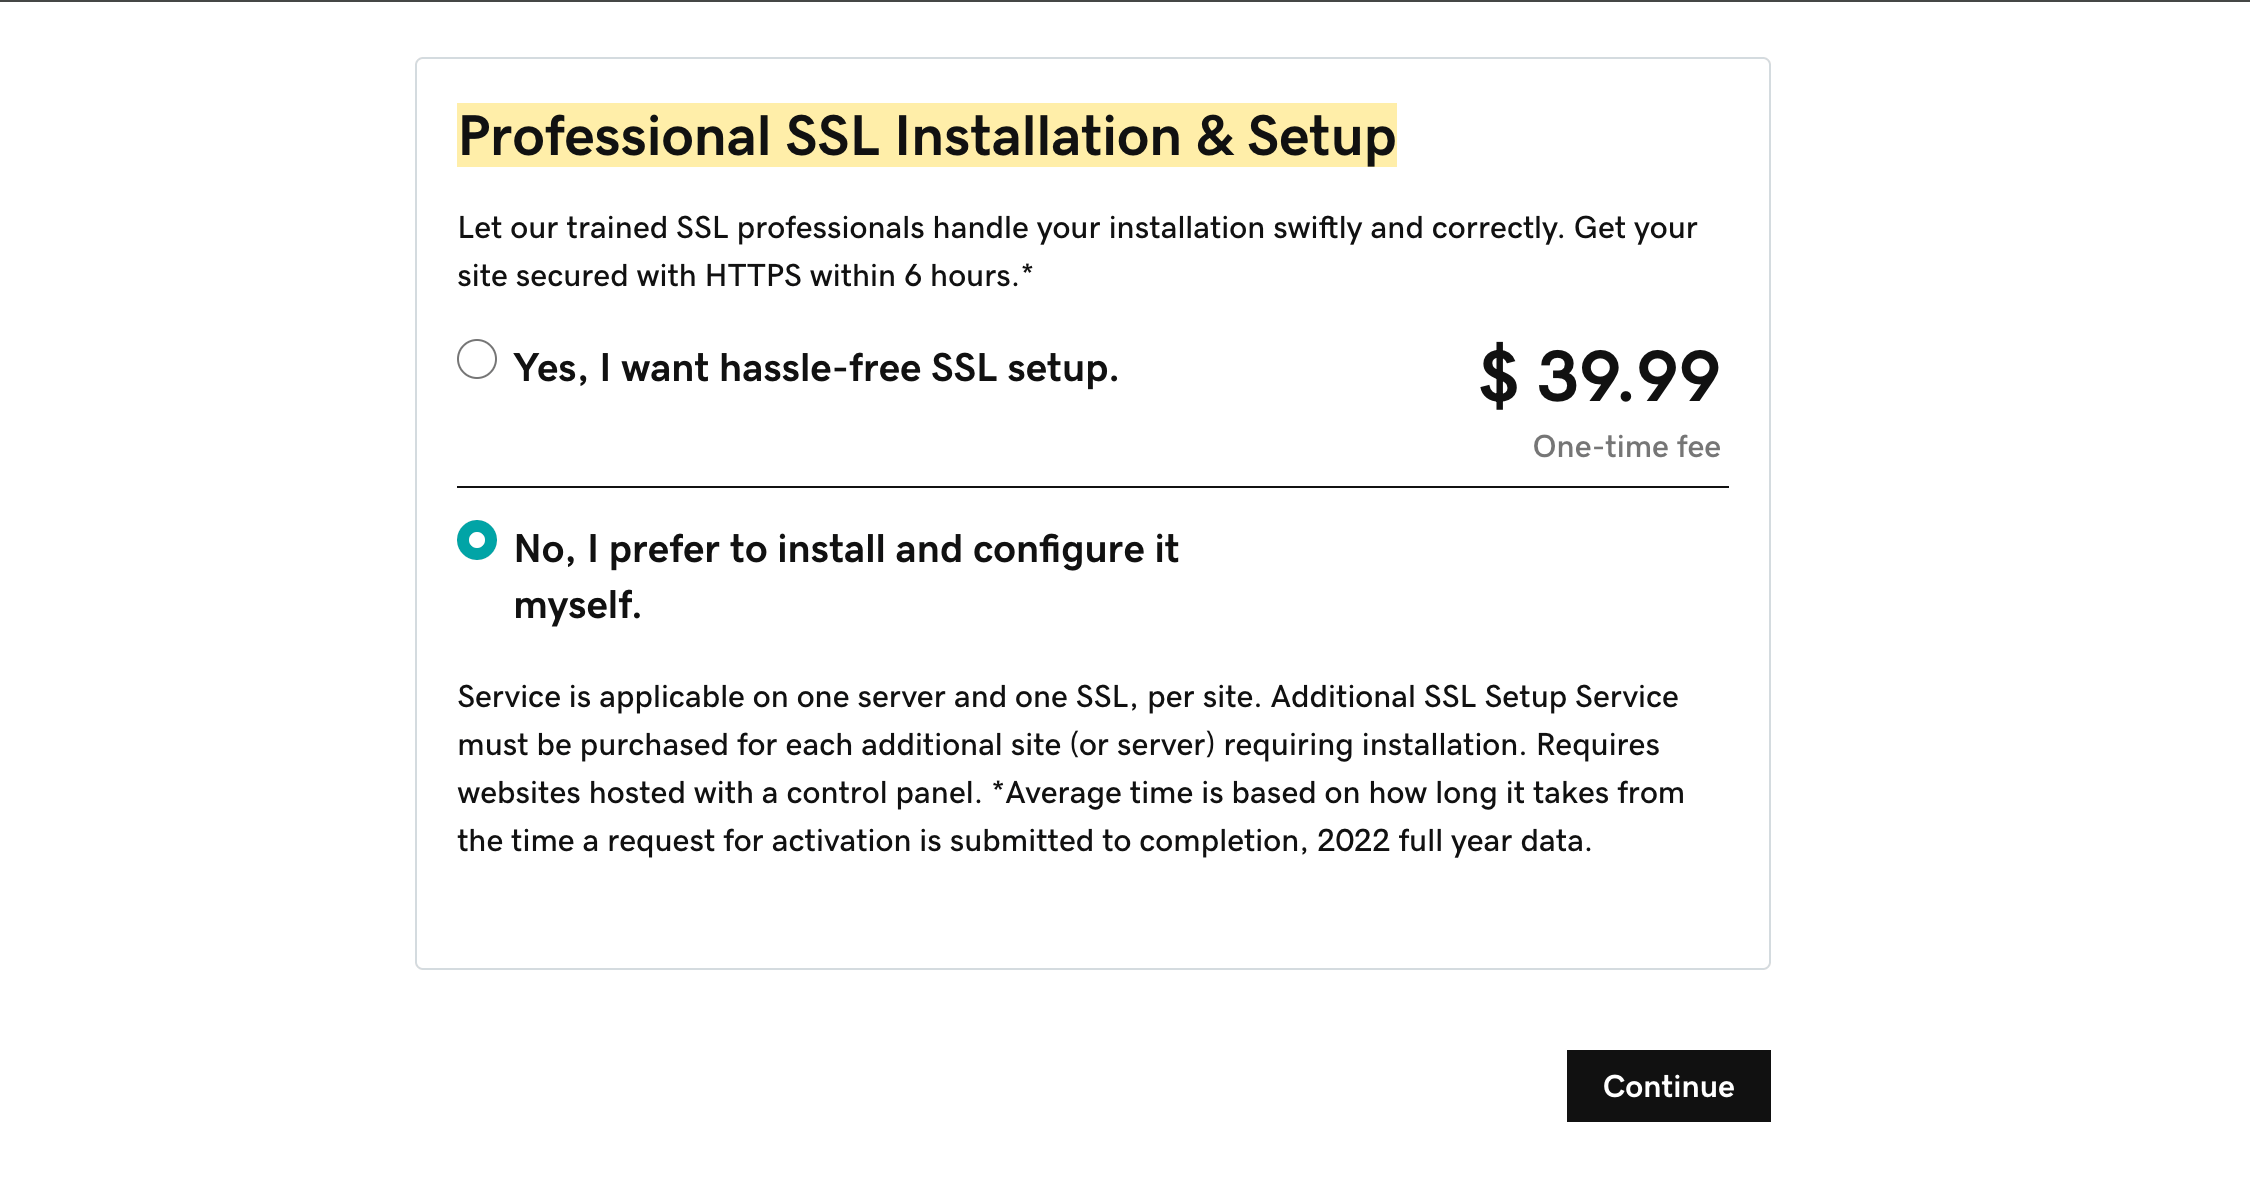
After that, it will ask you for professional SSL installation and setup. If you’re new to SSL and don’t know how to set it up, then you can get this service for $39.99.
I would recommend skipping this, as setting up SSL is quite an easy process.
After your decisions, click on the “Continue” button to redirect to the checkout page.
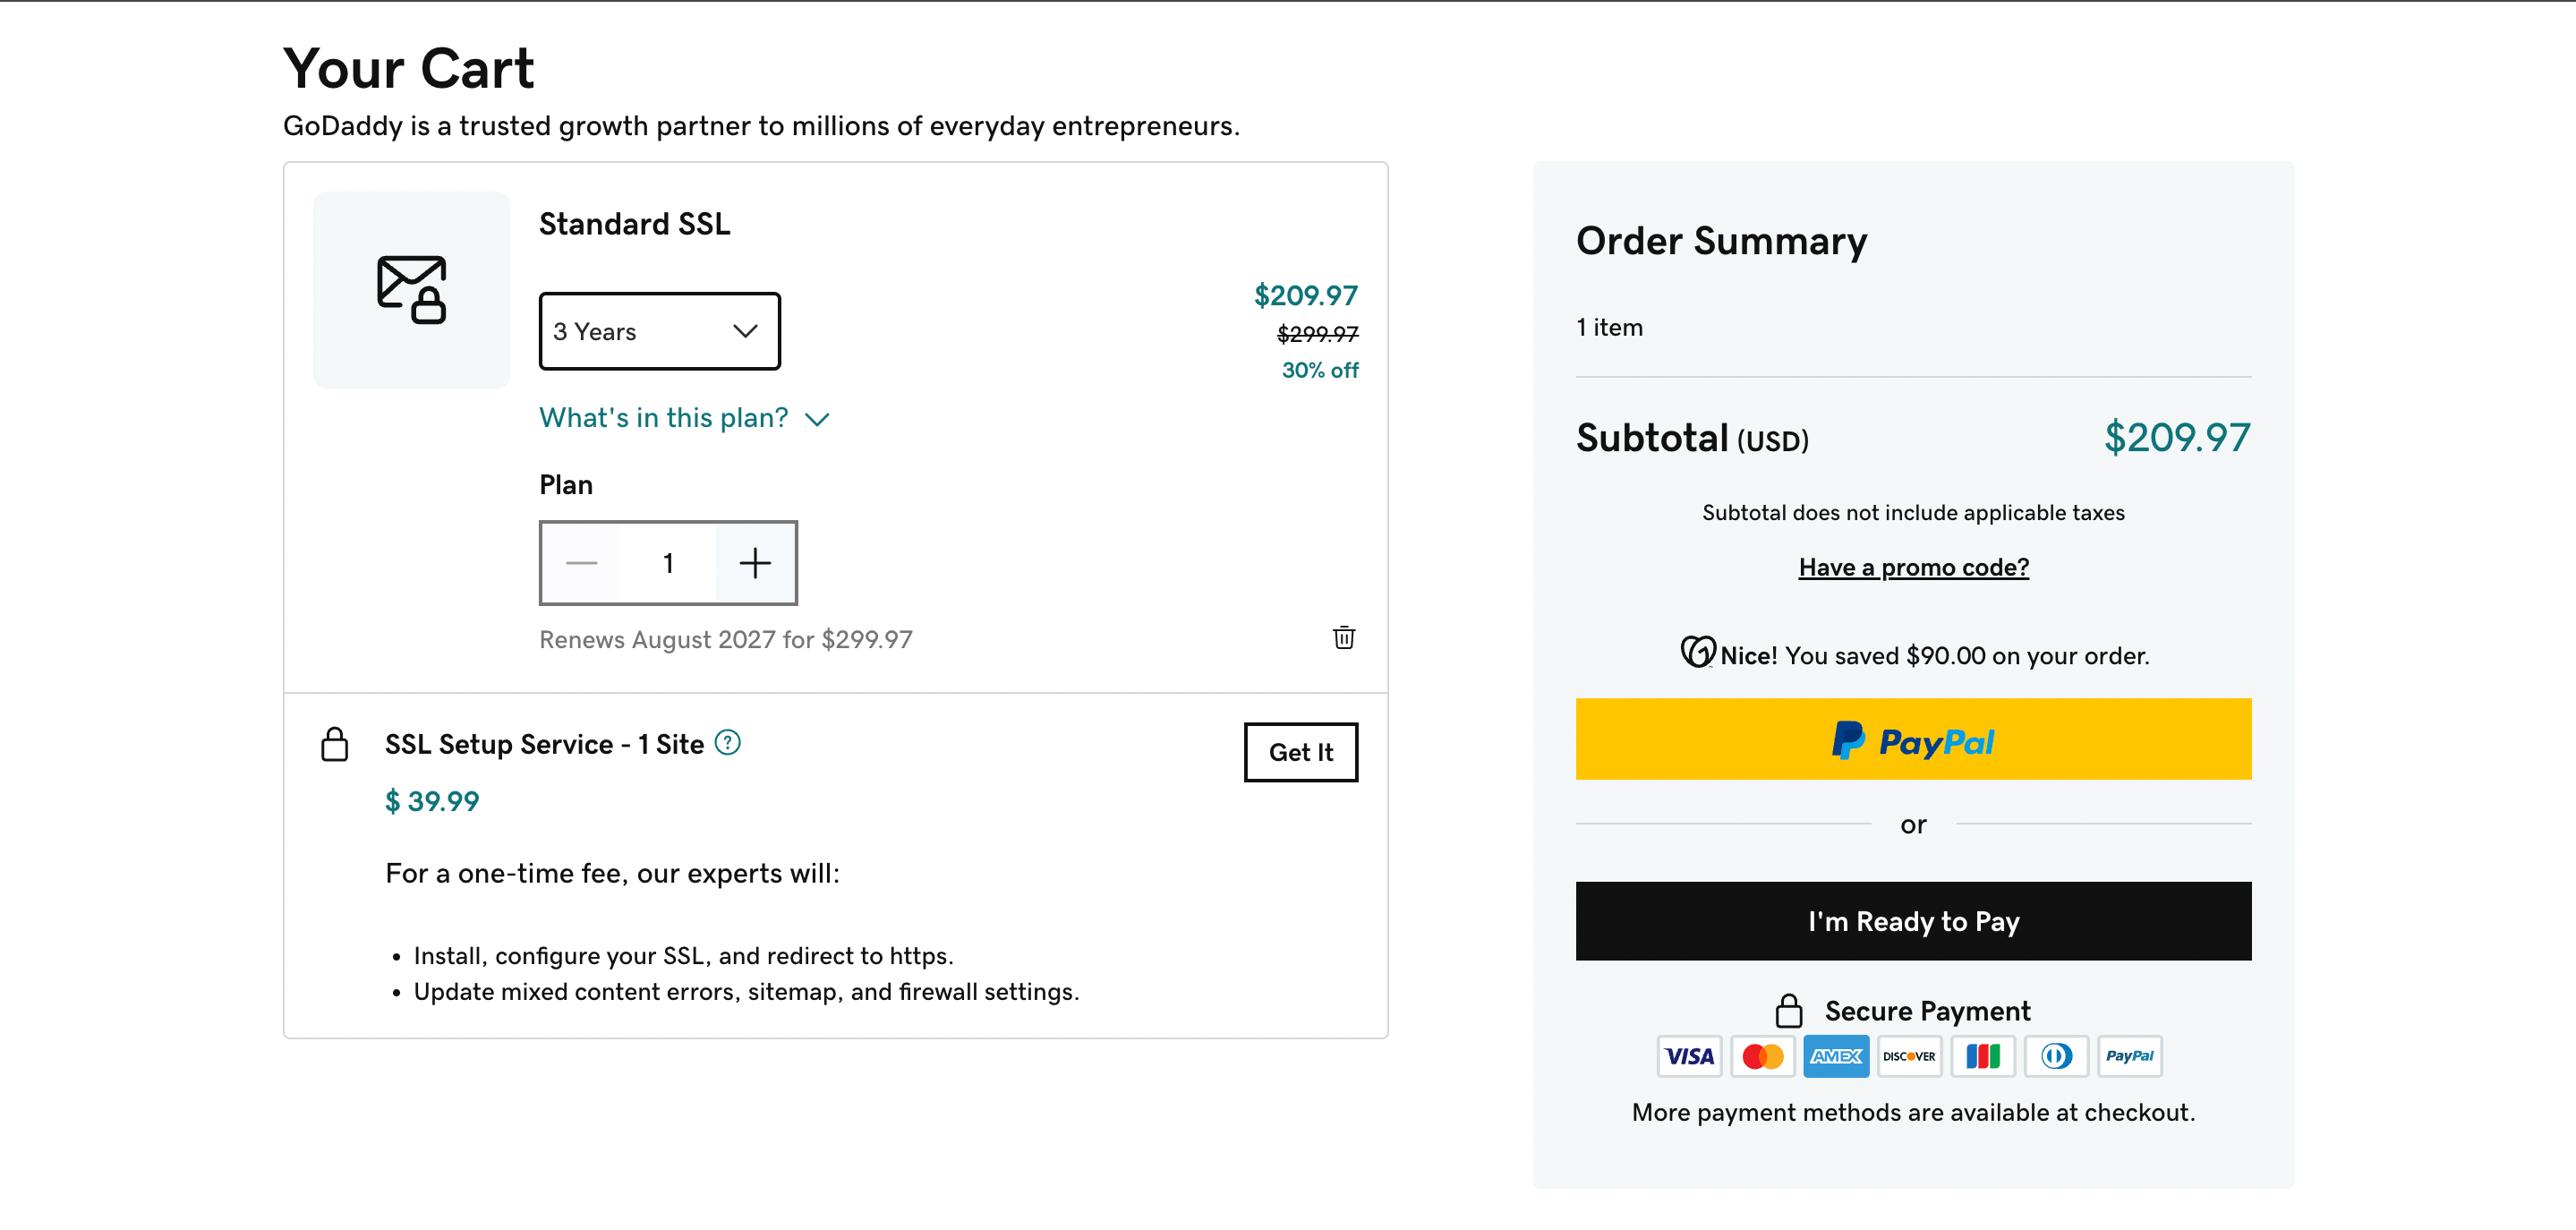
Here, you’ll see the “Standard SSL” has been added for 3 years with a 30% discount.
Now, you can make the payment through PayPal or any alternative method shown. After the payment is made, your account will take a few moments to set up.
Once done, you’re good to go!
Frequently Asked Questions (FAQs)
Still have doubts? Here, I’m sharing some FAQs which may help you!
What is an SSL certificate, and why use it on our website?
SSL stands for Secure Sockets Layer, an encryption-based protocol that allows a computer to communicate securely over the internet. It allows the user’s computer to establish a secure connection with the website.
Using an SSL certificate is really important for a website. It can give your website an additional ranking boost and help build trust with users.
What types of SSLs are offered by GoDaddy?
GoDaddy offers different types of SSL certificates depending on the user’s needs and provides both managed and DIY services. The mostly bought SSLs are;
- Single Domain DV SSL
- Multi-Domain SAN DV SSL
- Wildcard DV SSL
Aside from these three options, you’ll also get Organization Validation (OV) and Extended Validation (EV) SSL certificates from them.
Is it worth paying for an SSL certificate?
Yes, an SSL certificate is one of the most important things in 2025, and I highly recommend getting one for your website. This will not only help improve your website’s overall visibility in search engines but also allow your visitors/users to trust your website/product/services.
Does GoDaddy offer promo codes for SSL?
GoDaddy doesn’t actively promote coupon codes for new users or returning customers. However, they sometimes run different types of offers that can help you save more on your purchase.
You’ll also get an opportunity to save extra by opting for their multi-year plans.
Wrapping Up!
If you’re starting a website, getting an SSL certificate is one of the most important things you can do. It can add an extra layer of security to your website and make people trust you.
SSL can also help you gain more visibility in search results, and this is one of the main reasons why I also use this on my website. If you’re looking to renew your SSL certificate, you can also find godaddy renewal codes here.
Let me know if you have any more questions or if you have a GoDaddy SSL coupon that you would like to share with our community. You can also share your coupon via email at [email protected].
GoDaddy SSL Coupon - Get Upto 50% OFF on SSL Certificates 69.99
Summary
SSL is an important part of any website, and if you’re making a website, you should get an SSL certificate to add an extra layer of security and trustworthiness. GoDaddy is a great place to start with and in this post, you’ll find some GoDaddy SSL coupons to help you save money.
-
Industry-Standard Encryption
-
Better Google Rankings
-
Easy Installation
-
Managed Services Option
-
30-Day Money-Back Guarantee
Pros
- Reliable & excellent customer support.
- 85m+ domains have been registered on their platform.
- They offer an all-in-one solution for businesses.
Cons
- The pricing is high compared to that of other competitors.
Thanks for sharing these GoDaddy SSL coupon codes! The discounts on SSL certificates are fantastic, especially the option to switch to INR for extra savings. Great tips for enhancing website security at a lower cost!